December 23, 2017 Linux ZSH BASH Shell Terminal OhMyZSH Powerlevel9K
Make Your Linux Terminal More Powerful With ZSH (+Addons)
The terminal in all of the Linux distributions come with BASH as default, to execute shell commands. But its not that powerful and has limited functionality and extentions. So why not change it to something which makes your terminal more powerful and interactive.
This post will consist of basically 3 steps:
- Changing default terminal shell from BASH to ZSH.
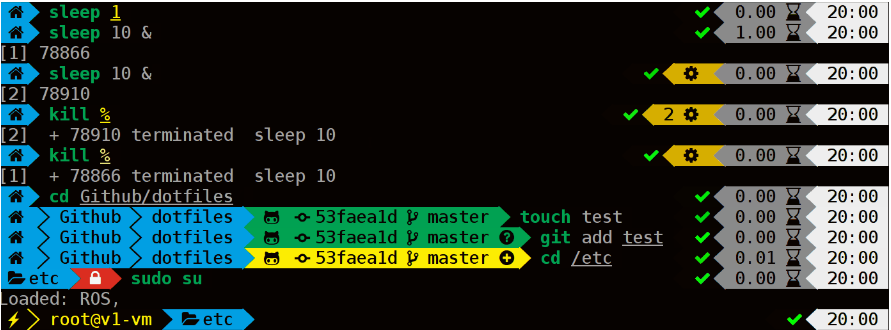
- Using OhMyZSH, a ZSH framework to easily manage your ZSH configurations, which comes with many plugins and themes to change the look and working of your terminal.
- (Optional) Using PowerLevel9k theme which enables you to use special characters inside your terminal.
- Using AutoSuggestions , which suggests commands as you type based on your history.
I have tried all these steps on my Linux Machine but they should also work fine on MAC OS (some commands might need some change though, refer the links). So, lets get started.
Switching to ZSH
- First, lets install ZSH. You can do this using the software center provided with your distribution or by typing the following commands in your terminal -
sudo apt-get install zsh -
Just type
zshin your terminal to make sure that it is installed properly. - Then lets change the default shell to ZSH, so that everytime you open up your terminal ZSH loads automatically. You can do so by using the following command-
sudo chsh -s /usr/bin/zshIf this command gives an error type
which zshto get the path where the ZSH is installed and replace the output with/usr/bin/zsh - Now restart your terminal (or reboot) and type anything in the terminal and the output must be
zsh: command not foundinstead ofbash: command not found
Using OhMyZSH
- The simplest way to install OhMyZSH is by using
curlorwget. Although it can also be done by cloning the git repo. using curlsh -c "$(curl -fsSL https://raw.githubusercontent.com/robbyrussell/oh-my-zsh/master/tools/install.sh)"using wget
sh -c "$(wget https://raw.githubusercontent.com/robbyrussell/oh-my-zsh/master/tools/install.sh -O -)" - After it is done installing you will see a OhMyZSH message on your terminal screen. Restart the terminal to see the changes.
- All the configurations for your ZSH are stored in a hidden .zshrc file. So if you want to customize ZSH you can manually change the configs or you can use already configured files.
- Now, lets change the change the theme of the ZSH. You can choose the theme you like from here and then in your
.zshrcfile replace the value ofZSH_THEMEto the theme name you want to use (default isrobbyrussell). If you useagnostertheme it should look like this -ZSH_THEME="agnoster"
Adding Special Fonts -
- To add special fonts first you need to install Powerline. This can easily be done by using PIP (if you don’t have pip installed use
sudo apt-get install python-pip)pip install powerline-status - Now lets, install the Powerline Font that will be used. Go to the website and select the font you like and download its
.ttffile. To install the font just open the file and click the install button. - Go to your terminal profile preferences and select Custom Font and select the font which you installed ( make sure you select the powerline font and not the regular one ).
- If the emojis does not show up don’t worry we will fix that in next section.
Installing Powerlevel9k
- To install the Powerlevel9K theme use the following command -
$ git clone https://github.com/bhilburn/powerlevel9k.git ~/.oh-my-zsh/custom/themes/powerlevel9k - After installing we need to change the value of ZSH_THEME in
.zshrcfile -ZSH_THEME="powerlevel9k/powerlevel9k" - You can easily stylize it the way you want by following the Stylizing Guide or you can select from the pre-made ones here .
- For displaying emojis install the Font Awesome font and add this line to the top of your
.zshrcfile -POWERLEVEL9K_MODE='awesome-fontconfig' - Now the emojis must appear.
Using AutoSuggestions
- To install use the following command -
git clone https://github.com/zsh-users/zsh-autosuggestions $ZSH_CUSTOM/plugins/zsh-autosuggestions - Now add the plugin name in your
.zshrcfile -plugins=(git zsh-autosuggestions) - Initially it won’t perform very well but with time as it will collect your commands it will get better in suggestions. You can use the right arrow key to auto complete the command suggestion.
So that should be all from my side, hope you like the new look of your Terminal and start loving it again. Comment down your useful tips, suggestions and also if you face any problem following the tutorial.